User Guidelines
Welcome to the SpotDesk System. This guide is designed to help the users easily utilize the features of SpotDesk System.
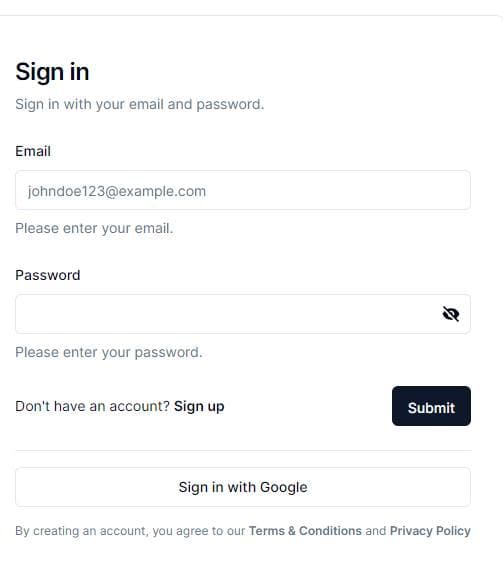
1. Sign in Page
In the event of system access, users need to sign in using their email address and password. If the users prefer not to provide their email address and password, they have an available option to sign in by just using their Google account.
Sign in page
On the other hand, if the user don't have an account yet, they must click the "Sign up" option for them to create an account.
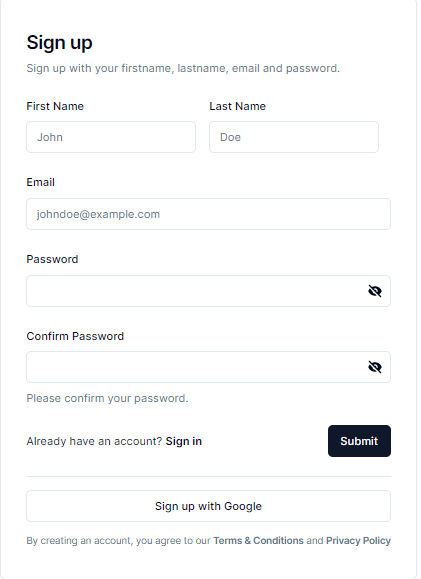
2. Sign up Page
Here in the sign up option the user will just need to fill out what requirements are needed. They can also use the option "sign up with Google account".
Sign up page
After successfully logging in or signing up, users will be directed to the home page of the SpotDesk system.
3. Overview of the Home page
From the home page, users can explore available features according to their preferences and requirements. Available features, including Booking, FAQ, and Reserve.
In "Home page" you will see the available details such as, total booking, total employees, total available desk, and so on
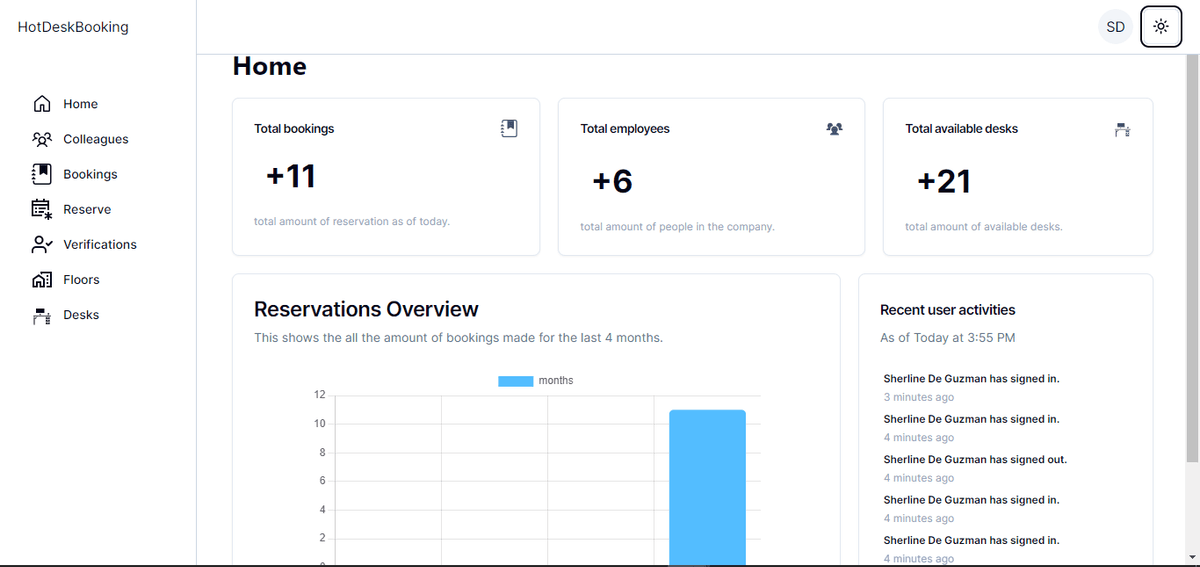
Home page
4. Booking part
After that, if the user wants to book a desk they just click the " Reserve" option and with that they can select an area or floor on the "Desk Map" that suits their preferences. And of course users need to select a date that they wanted in their bookings.
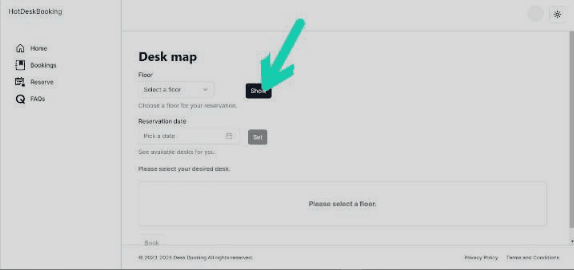
Reserve Page
If the user click the "show" button they will be directed into the desk where they are placed or the location of their bookings. (The green circle or spot indicates that the desk is available while the red spot is not available.)
If the user click one of the green spots there will appear what desk or floor they have been selected. "It says You have selected desk D4 on floor1". See the examples below.
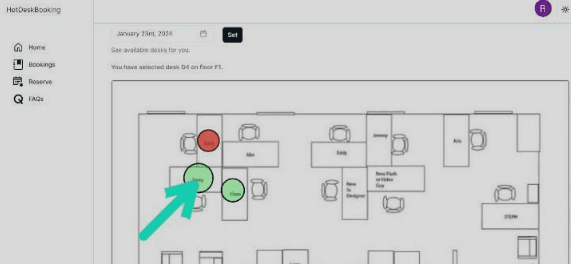
Location of your booking
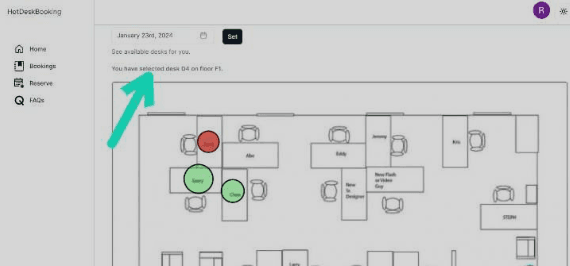
Booking indicator
5. Details
This is the details of the users booking. If the user click the "continue" button, that means user's reservation has been created.
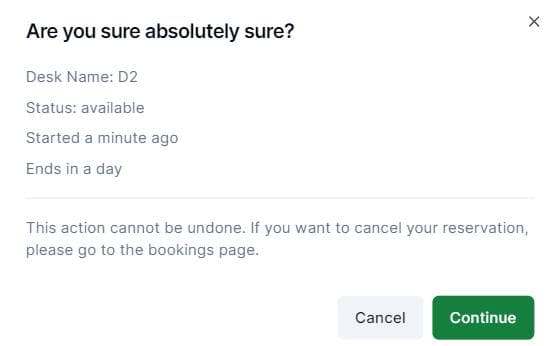
Booking Details
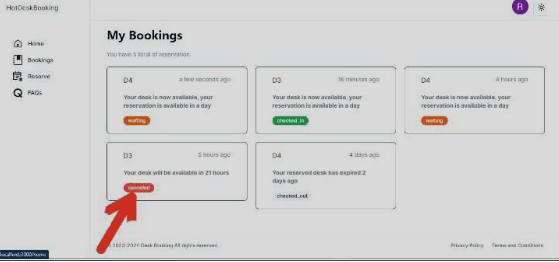
6. Bookings Page
After the user's reservation has already been created, they just click the "Booking" option so that they will see their reservation.
Booking Details
While waiting for their reservation, users cannot click the "green check" button because it is only enabled on their reservation date. And if it is enabled they can also checked out on that date.
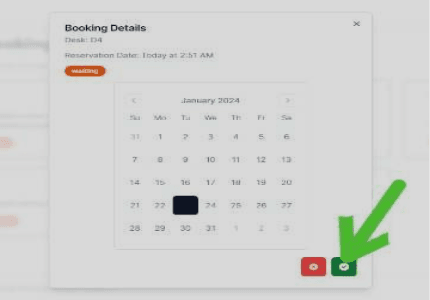
Booking check-in button
On the other hand, the "red button" is for cancellation of a user's reservation. So if the user click the red button their reservation will be canceled. See the examples below.
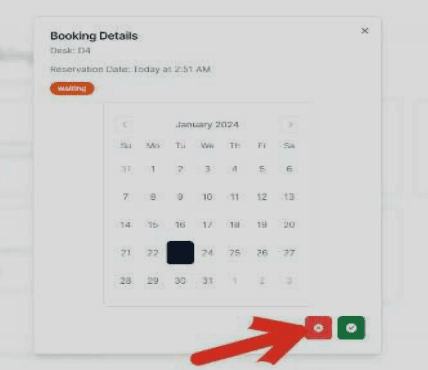
Booking cancel button
Booking check-in button